For anyone looking to convert their camper to a more sustainable and odour-free system, composting toilets with urine diverters are a game-changer. One of our customers recently shared their experience building a DIY composting toilet using our urine diverter, and their story is both inspiring and practical for anyone considering the switch.
Why Choose a Composting Toilet?
Traditional camper toilets can be difficult to maintain, requiring chemicals and frequent emptying. A composting toilet, on the other hand, allows for a more natural breakdown of waste, with urine separation playing a crucial role in keeping odours to a minimum. With the right setup, you can have an efficient system that works seamlessly in small spaces.
Customer Review: How I Built My DIY Composting Toilet
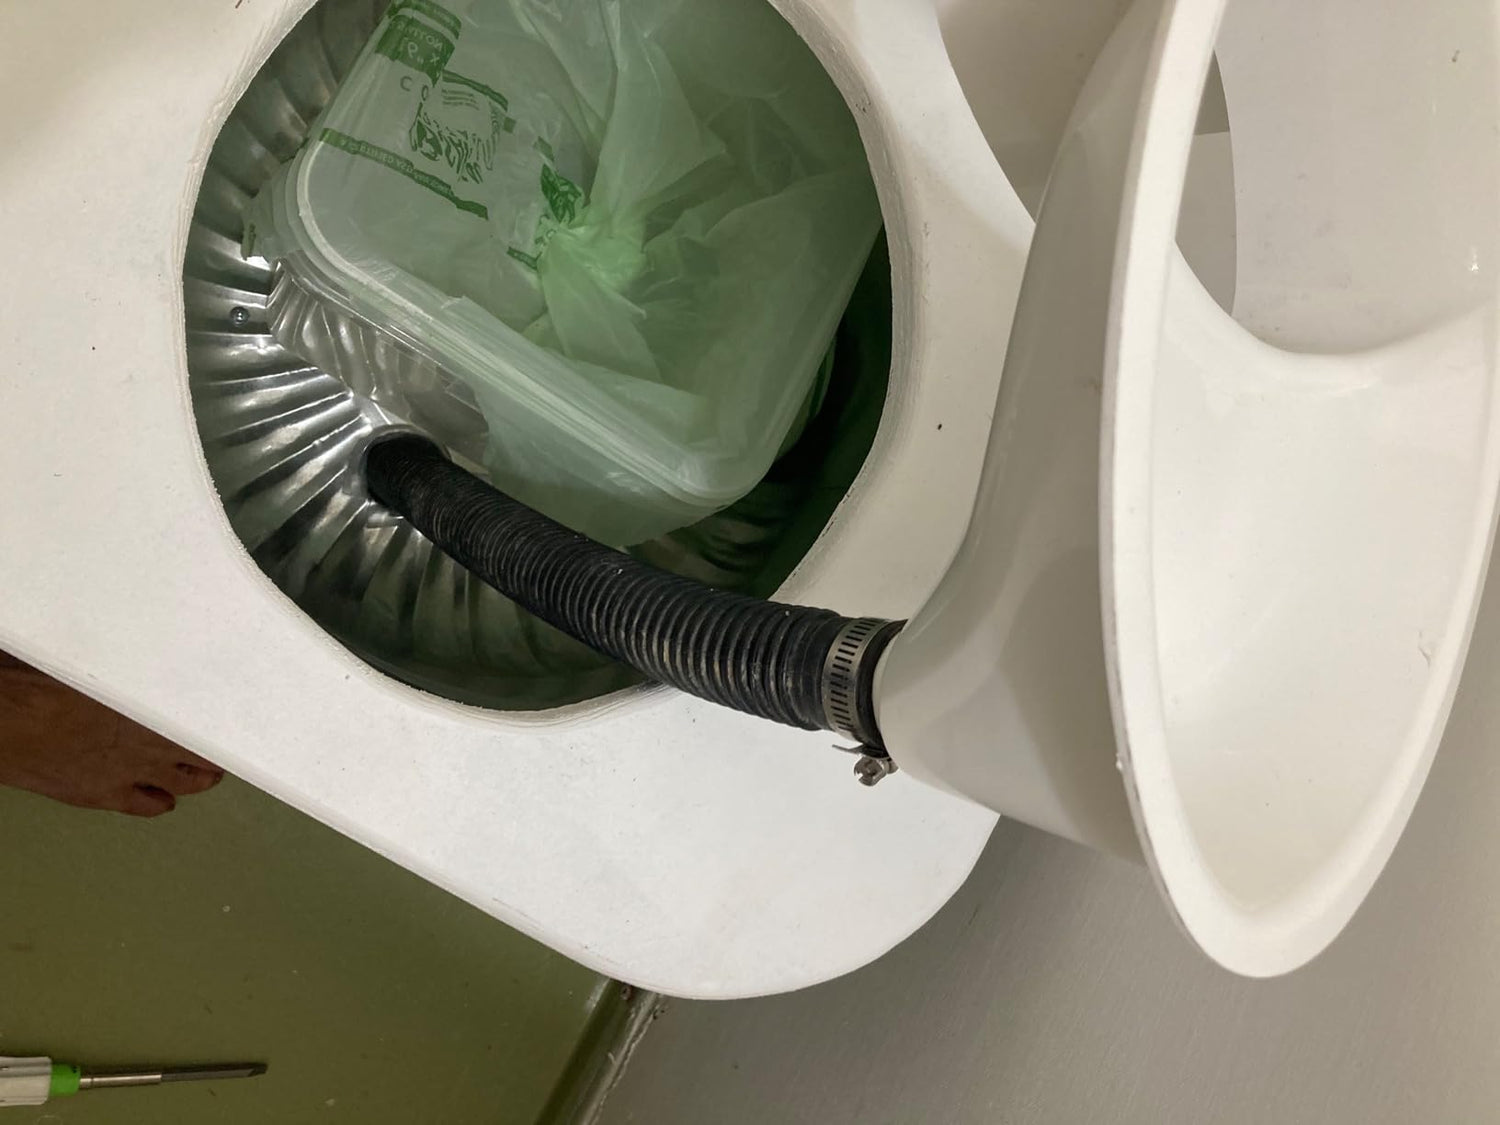
"I was easily able to make a composting toilet for my camper, and with the urine diverter, it keeps the smell down, especially in a small space. I made my toilet using a metal bucket from my local hardware store ($40), a new toilet seat ($20), some scrap plywood, scrap hose for the urine diverter, and an empty plastic bulk screw container (free). I'm just learning how to be 'handy,' and it took me about 3 hours to uninstall the original RV toilet, drill a hole in the bottom of the existing tank for the urine diversion hose, build and paint and install the seat. The unit sits on the floor inside the RV."
This simple, cost-effective project proves that with minimal tools and effort, you can build a fully functional composting toilet that is both eco-friendly and budget-friendly.

Step-by-Step Guide to Building Your Own Composting Toilet
-
Gather Your Materials:
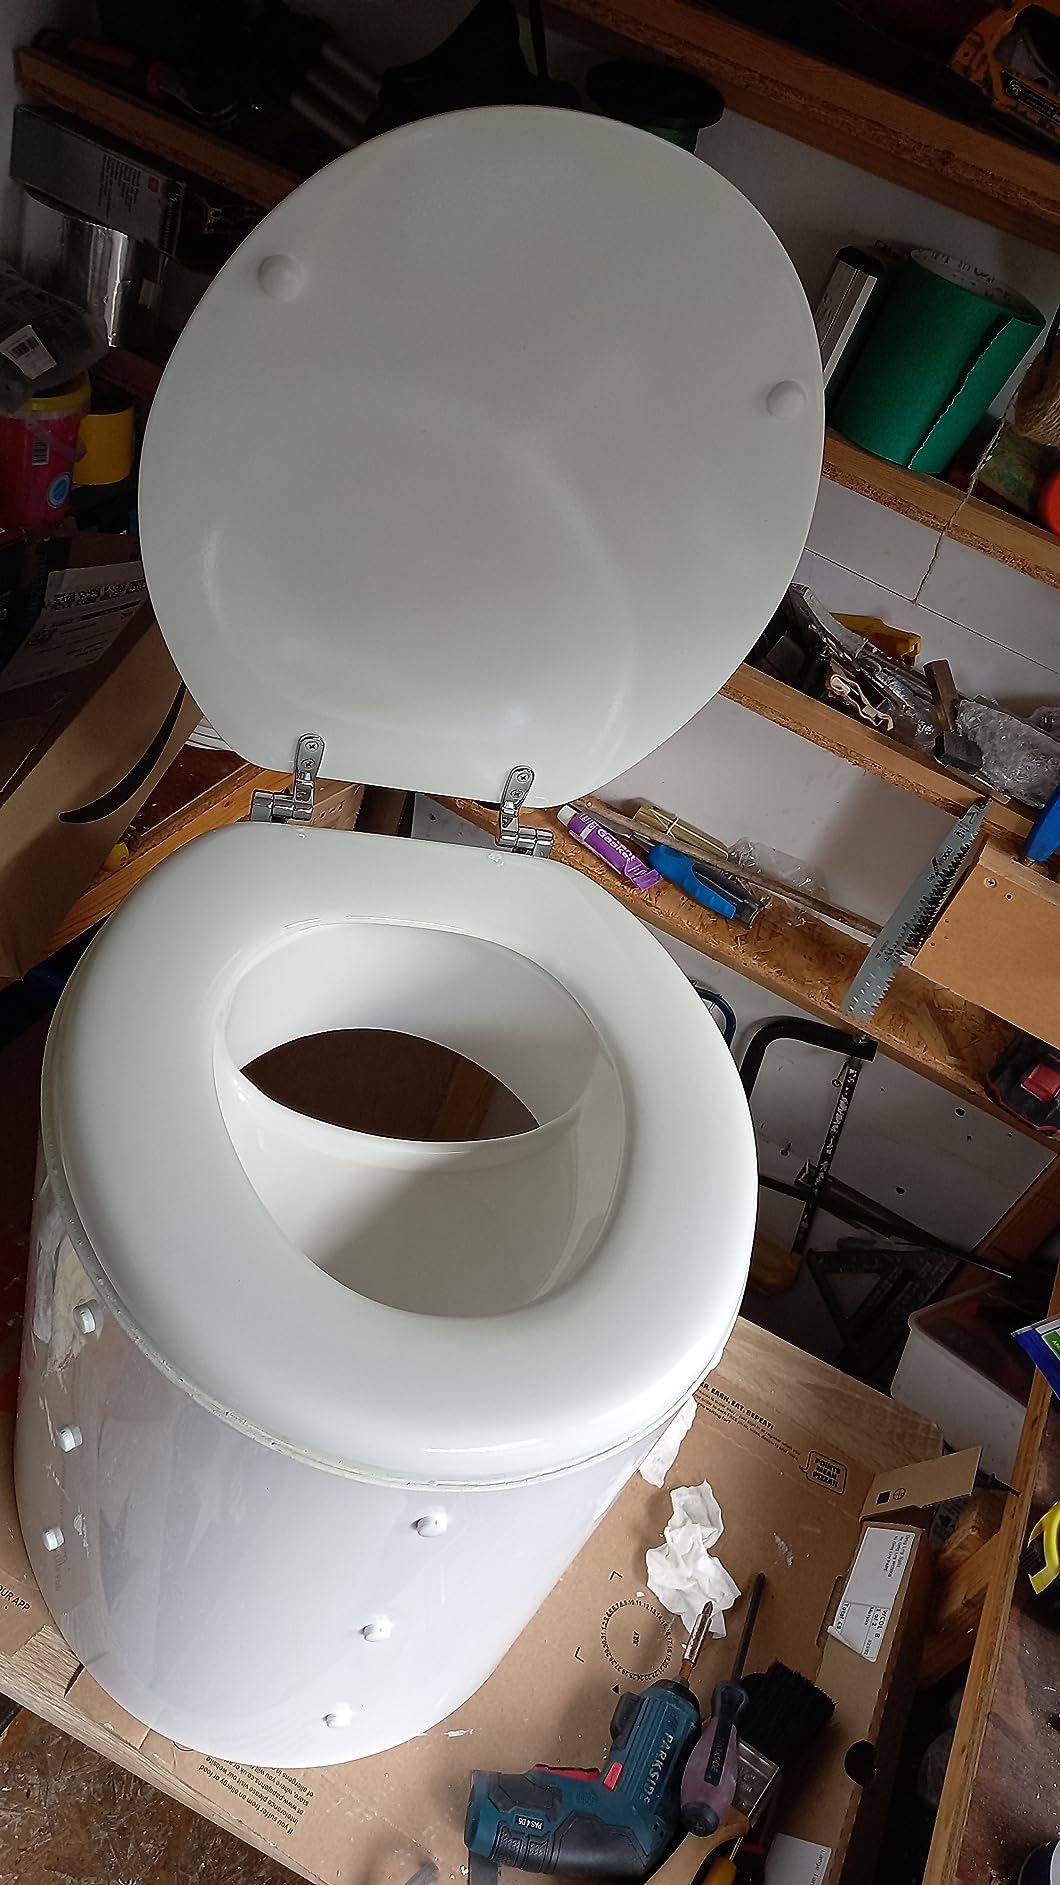
- Urine diverter (available in our store!)
- Metal or plastic bucket (for solids)
- A standard toilet seat
- Plywood or another sturdy material for the base
- A hose for urine diversion
- A small container or designated drain for liquid waste
-
Remove Your Old RV Toilet (if applicable):
- Turn off the water supply
- Disconnect plumbing
- Unbolt and remove the existing toilet
-
Prepare the Base and Seat:
- Cut plywood or another material to fit your space
- Secure the toilet seat onto the structure
-
Install the Urine Diverter:
- Attach the urine diverter beneath the seat
- Direct the urine through a hose to an external container or existing drain
-
Set Up the Solids Container:
- Place the bucket below the seat to collect solid waste
- Use compostable bags or sawdust to aid decomposition
-
Secure Everything in Place:
- Make sure all components are well-fitted and properly ventilated
-
Test Your System:
- Ensure urine is properly diverted
- Make adjustments as needed
Final Thoughts
Our customer's experience highlights how accessible DIY composting toilet setups can be. With a urine diverter, you can significantly reduce odours and create an efficient, eco-friendly waste management system for your camper or tiny home.
If you're looking to build your own, check out our range of urine diverters and accessories to get started!

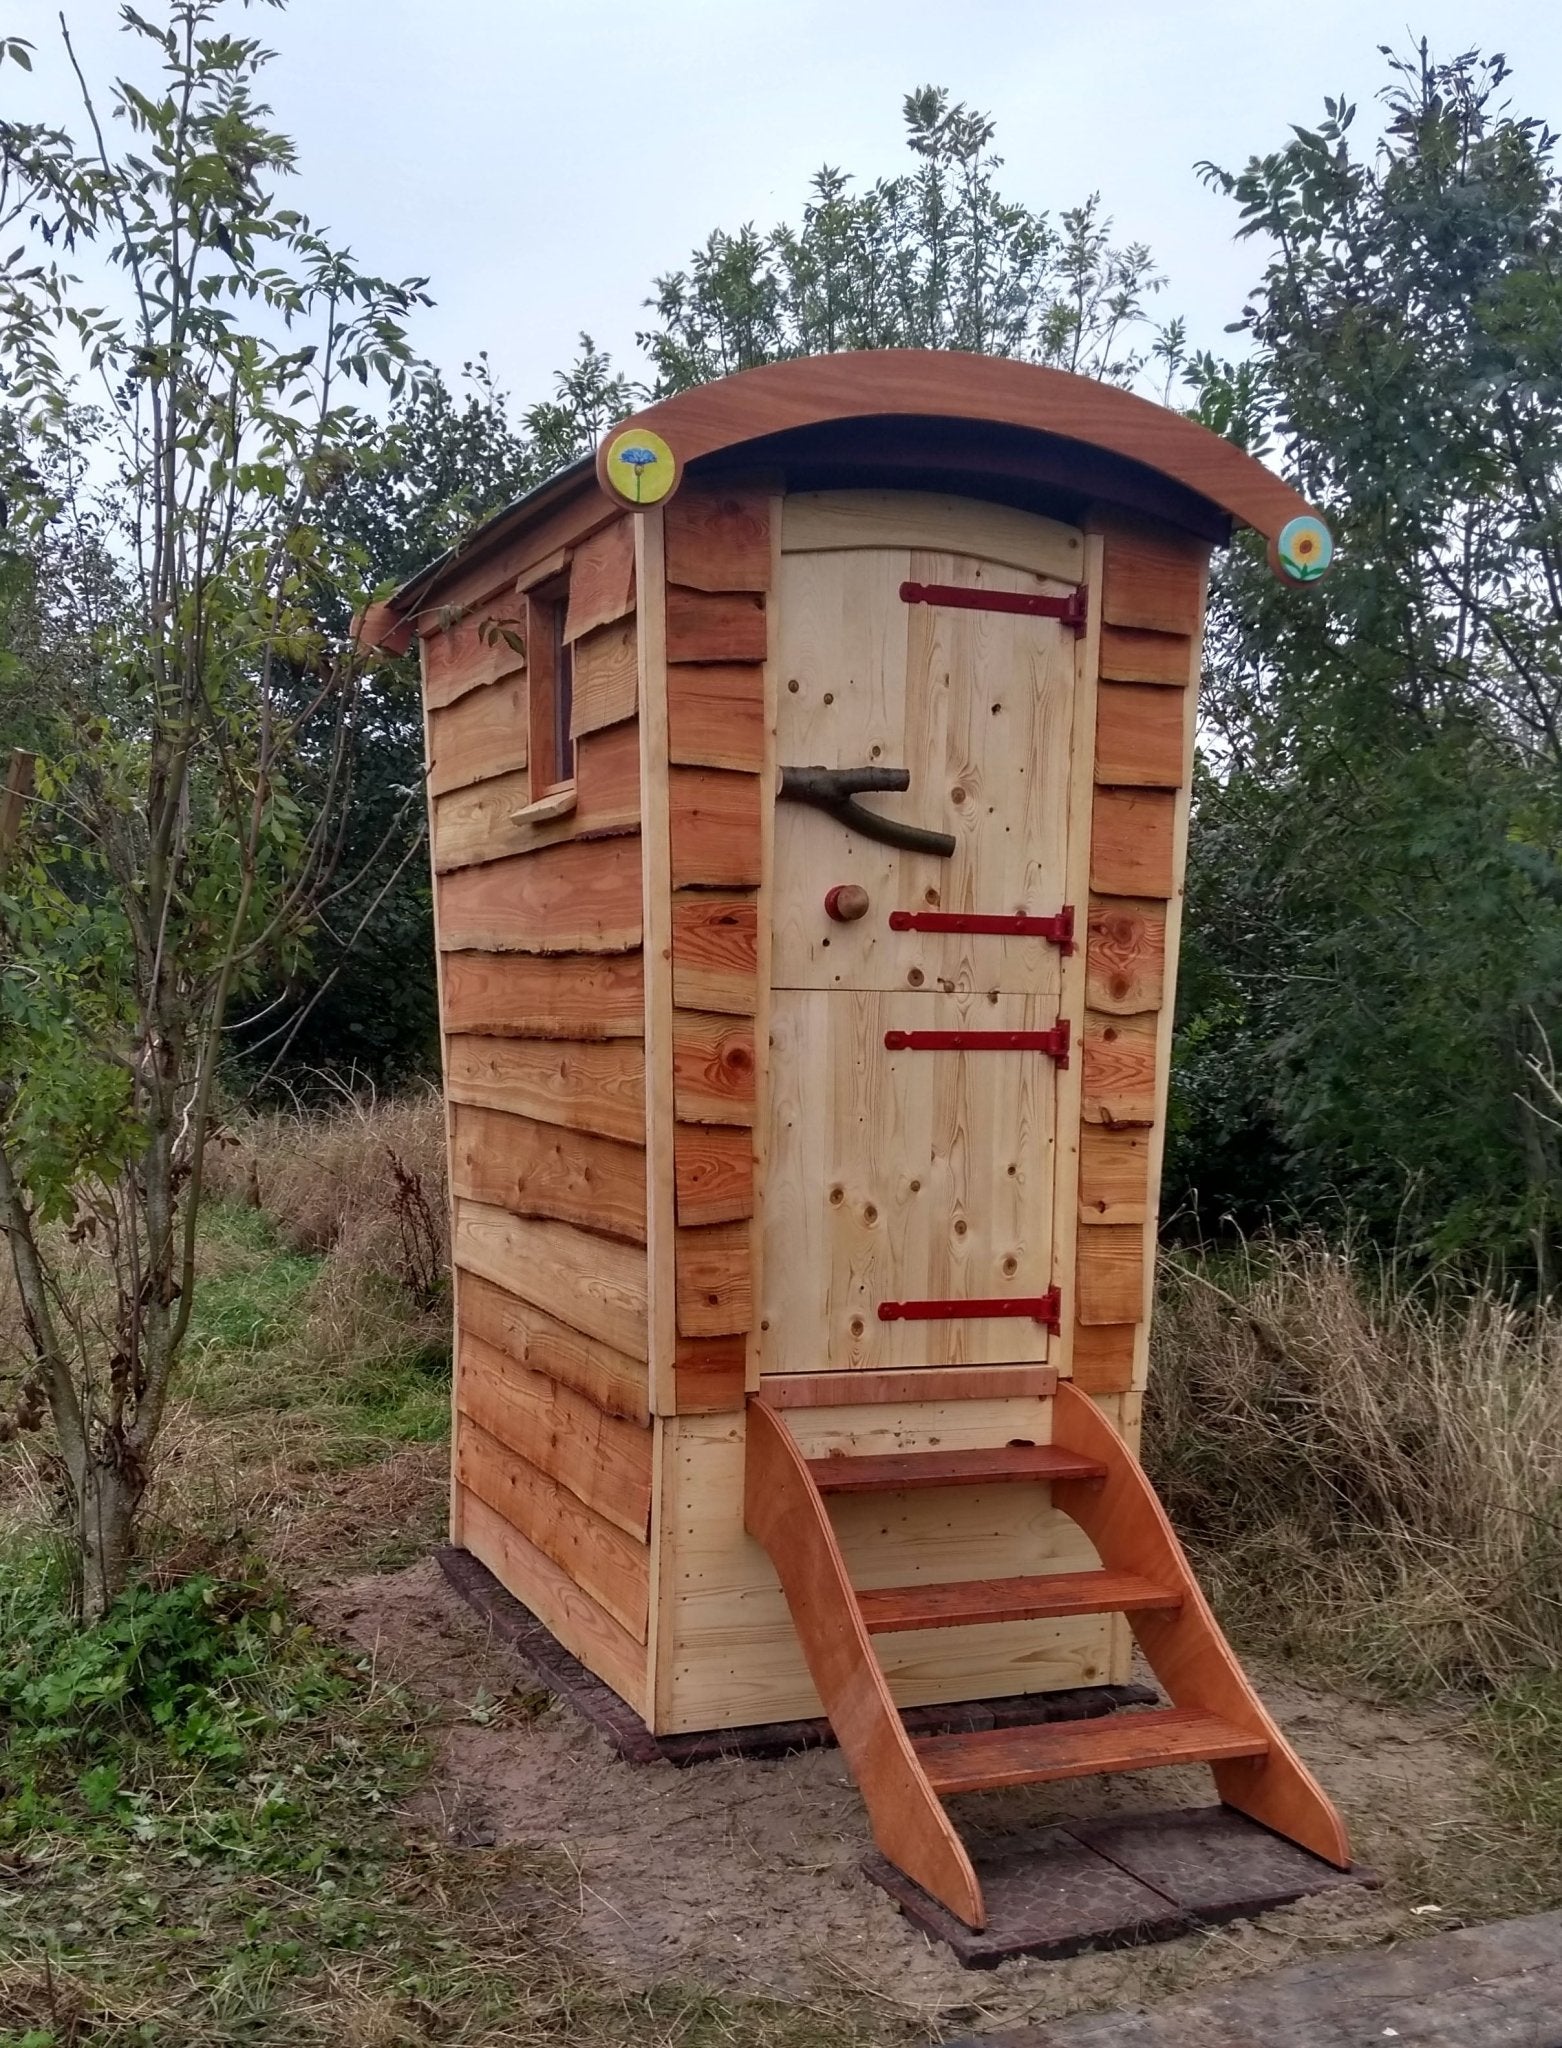
You can find our Gypsy Caravan Compost Toilet and Compost Toilet with Disabled Access in our shop.


