How to Build a Compost Toilet: A Practical Guide from 25 Years of Experience
So you want to build a compost toilet. Good. You've made a smart decision — and it's much simpler than you might think.
I've been building compost toilets for over twenty-five years. I've sold urine separators all over the world, and I've seen people build these things out of oak, pallets, corrugated tin, concrete, and everything in between. Every single one is different, and almost every single one works. This guide is what I'd tell a friend I bumped into on the train who was about to build their first one. No fuss. Just what you actually need to know.
 Step 1: Choose Your Receptacle
Before you pick up a single piece of timber, you need to decide what you're going to build around. The receptacle — the container that collects everything — is the heart of the whole system, and your design should start here.
Your options are wider than you might think: a bucket, a barrel, an IBC (intermediate bulk container), a rain butt, or you can simply dig a hole. But after years of building, testing, and thinking hard about this, I always come back to the same answer: the wheelie bin.
If I'd spent years with a team of scientists and designers trying to engineer the perfect compost toilet receptacle, I genuinely believe I'd end up back at the wheelie bin. Here's why: they're cheap, easy to source almost anywhere in the world, practically indestructible, they come with a lid, and — crucially — they have wheels. That last point matters more than you'd think when it comes to emptying.
Go big if you can. A larger receptacle means less frequent emptying. That's a good thing.
Step 2: Nestle the Bin Inside the Box
This is a mistake almost everyone makes on their first build, including me. When I built my very first compost toilet, I put the wheelie bin underneath the floor of the toilet box. Don't do this. A wheelie bin is roughly a metre tall. If it sits below floor level, you end up with an absurdly high toilet that wastes a huge amount of space and looks ridiculous.
Instead, nestle the wheelie bin inside the toilet box. The bin sits within the structure itself, not underneath it. This keeps the seat at a sensible height and makes the whole thing far more compact.
The wheelie bin is also slightly wider than it is deep, so consider the orientation carefully. I prefer side entry — sliding the bin in from the side rather than the back — as it makes the most of the bin's dimensions and keeps the overall footprint tighter.
 Step 3: Choose Your Materials
One of the things I love most about compost toilets is that they're genuinely democratic. I've received photos from builders all over the world, and every toilet looks different — because people use whatever they have to hand. And that's exactly right.
Before you start building, ask yourself: what do I have nearby, and what can I get cheaply?
- Pallets — free or near-free, surprisingly sturdy, great for a rough-and-ready build
- Corrugated tin — looks fantastic when done well, very low maintenance
- Softwood or Douglas fir — cheap, easy to work with, widely available from sawmills
- Reclaimed timber — check the offcut pile at your local sawmill
- Oak or hardwood — for a high-end, long-lasting build
- Shiplap cladding — beautiful finish, weather-resistant
- Concrete or block — if you want something truly permanent
If you're on a budget, visit your local sawmill and ask for offcuts. You'll be amazed what you can find cheaply. If you're going high-end, oak with waney-edged boards and shiplap cladding is hard to beat. And if you want to weigh up which timbers actually last outdoors, we go through oak, larch and Douglas fir in detail in our guide to choosing wood for outdoor furniture.
Step 4: Design With a Little More Space Than You Think
Don't make your toilet box too tight. A cramped compost toilet feels uncomfortable and puts people off using it — a bit like a portaloo, which isn't the vibe you're going for.
It doesn't cost much more in materials to go an extra 20–30 centimetres wider or deeper. Do it. You'll thank yourself every time you use it.
 Step 5: Make It Beautiful
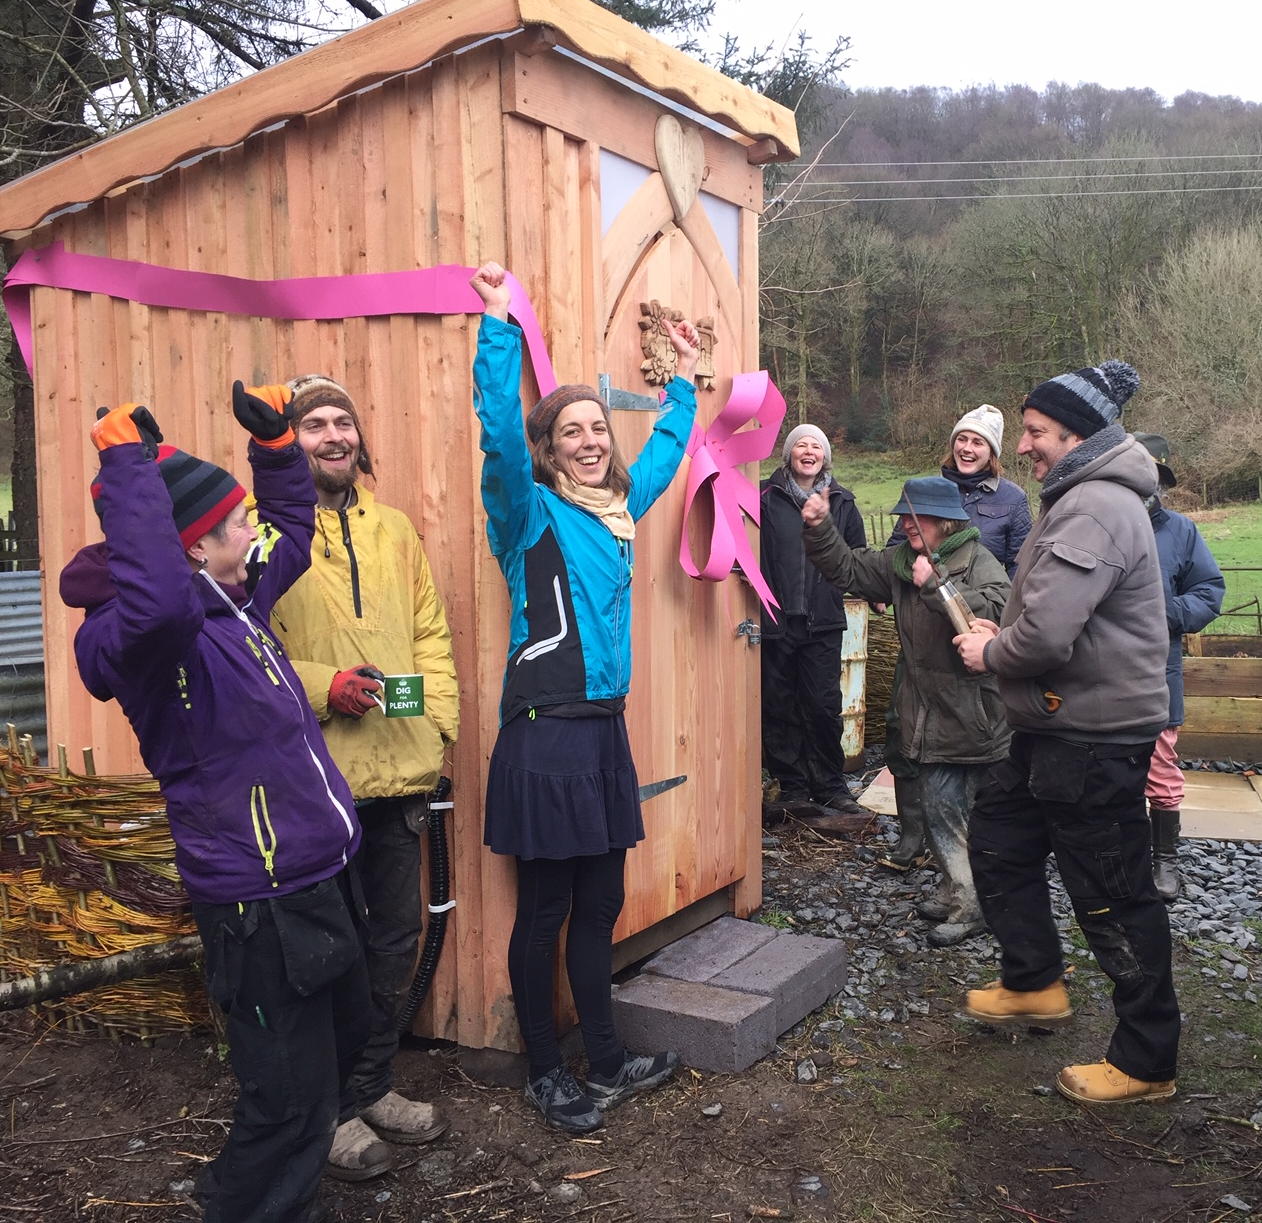
When I built my first compost toilet, I made a deliberate decision: I was going to make it as beautiful as possible. The reason was simple — compost toilets have an image problem. People hear "compost toilet" and picture something grim. I wanted anyone walking past mine in a field to think that's a beautiful little building before they ever realised what it was.
Aesthetics are worth the extra time. A few ideas:
- Give it a quirky shape — a curved bow roof, an unusual pitch, a round window
- Add fascia details; it's remarkable what good boarding and trim can do
- Paint it. Put a sign on the front. Add flower pots or window boxes
- Use the materials themselves as a design feature — waney-edge oak, corrugated tin, stone
Function is the most important thing, absolutely. But function and beauty aren't in conflict. The best compost toilets are both — our Designer Composting Toilet exists for exactly that reason.
 Step 6: Install Your Urine Separator
This is the single most important functional component. A urine separator divides liquid from solid waste inside the toilet — and it's what makes the whole system clean, odour-free, and practical.
We've been designing urine separators for twenty-five years. We're confident ours are among the best available — take a look at our Compact and Complete models and choose what suits your build.
Positioning the separator
Picture a standard oval toilet seat. The urine separator should cover approximately the front half of that oval. Urine goes forward, solids go back. It sounds simple because it is.
The separator should sit directly above your receptacle — as close to it as possible, ideally without a gap. The height of the separator above the receptacle determines your seat height, and your seat height then determines your floor level. Get this right first, and everything else follows.
Fixing the separator
Don't attach the urine separator to the underside of the toilet seat — fix it to the side walls of the toilet box instead. We make adjustable brackets that let you move the separator up and down to get the height exactly right. This is especially important because our separators are designed to sit flush with the seat, minimising depth loss — which means you may need to drop the separator slightly lower than you'd expect.
 Step 7: Ventilation — Keep It Simple
People get very anxious about ventilation. They imagine extractor fans, batteries, complex pipework. In most cases, you don't need any of it.
If you fit a urine separator correctly, a compost toilet simply doesn't smell. I have two shepherd's huts on our smallholding, both with compost toilets. Guests use them constantly. Nobody ever mentions a smell. It's genuinely not a problem.
That said, if you want belts and braces, there's an elegant passive solution: the solar stack vent.
Take a standard drain pipe. Attach one end to the highest point inside your toilet box — just below the seat, beneath the lid. Run the pipe up the outside of the building to a point well above the roofline. Paint it black.
As the black pipe heats up in the sun throughout the day, the warm air inside rises and draws air up from the toilet naturally — no fan, no battery, no moving parts, nothing to break or replace. Simple always wins.
Step 8: Cover Material
After each use, add a small scoop of cover material over the solids. This is important for odour control, moisture balance, and healthy composting.
Sawdust is my go-to, because I always have piles of it. It's light, clean-looking, and easy to get hold of — if you know anyone who works with wood, they'll have more than they know what to do with. The only downside is that sawdust takes longer to break down than other materials, because the bacteria that decompose it temporarily lock up nitrogen from the surrounding material (they release it again once finished, so it's not lost — just slow). Expect 12–18 months before you can use sawdust-heavy compost on your crops.
Leaf mould is brilliant. It's already partially broken down, already full of active microbes, and it gets your compost going much faster. The composted material will be ready to use considerably sooner. The only trade-off is that it looks more organic and earthy — less clean-and-white than sawdust, but arguably more appropriate.
Soil or earth also works well. This is actually what they used to use in the original Victorian-era "earth closets" — a hopper above the seat that would dispense a layer of fine soil after each use. There's something pleasing about returning to that tradition.
Whatever you can source locally and easily is probably the right answer.
Step 9: Dealing With the Urine
Your urine separator sends liquid waste away from the receptacle. The easiest solution for most people is to pipe it into a soakaway — a hole in the ground filled with rubble or pea gravel that lets the liquid disperse naturally into the soil.
One practical tip: inside the soakaway, place an upturned crate or bucket and feed your pipe into that. This creates a small buffer space that prevents sawdust particles from clogging the soakaway directly — a simple trick that saves a lot of trouble.
Soakaway design varies depending on your soil type. Sandy, free-draining ground needs far less excavation than heavy clay. [See our full soakaway guide for more detail.]
The legal bit (UK)
At the time of writing, UK regulations state that a soakaway must be at least 15 metres from any watercourse — rivers, streams, ponds, ditches. If your ideal toilet location is closer than that to water, you don't necessarily have to abandon it. You can run a longer pipe to place the soakaway itself at the required distance. Use common sense and plan accordingly.
Urine as a resource
It's worth shifting your thinking here. Urine isn't waste to be disposed of — it's a highly concentrated liquid fertiliser, rich in nitrogen. Plants love it. My brother uses his in South Africa by running a pipe out from the toilet into a food forest, moving it around periodically to feed different areas. Everything near that pipe grows bigger.
Think of it as liquid gold for the garden. The 15-metre rule exists to protect waterways from nutrient overload — outside that, you've got a genuinely valuable resource.
Step 10: Emptying and Composting
The two-bin system
This is where the wheelie bin really earns its keep. The system is straightforward:
- Fill Bin 1. When it's full, wheel it out and put Bin 2 in place.
- Bin 1 sits outside with a brick on the lid — leave it alone.
- When Bin 2 is full, Bin 1 has been sitting for several months and is ready to deal with.
- Empty Bin 1 onto your compost bay or directly onto the garden, then return it to service.
Rotate, repeat.
How much are you actually dealing with?
Less than you think. Composting reduces volume dramatically — by the time material has broken down, you're looking at roughly 10% of the original volume. A full wheelie bin becomes a surprisingly small pile of compost. If you build a dedicated compost bay (two side-by-side bays works beautifully — fill one, leave it, start the other), you'll find it almost never fills completely.
Leave the compost for at least a year before using it on the garden. I use mine on fruit trees and fruit bushes; it works brilliantly. But find what works for your situation — every setup is different.
Don't be scared of this
Humans have been dealing with their own waste this way for almost the entire span of history. It's only in the last 70 or 80 years that flushing toilets became the norm. The knowledge is there, it's proven, and it works. Once you've built and used your first compost toilet, you'll wonder what all the fuss was about.
Quick Summary: How to Build a Compost Toilet
Here's the short version if you meet me on the train:
- Find your receptacle. Go big. A wheelie bin is hard to beat.
- Nestle it inside the box — not underneath the floor.
- Get a urine separator. Position it over the front half of the toilet seat, fixed to the side walls, and let it determine your seat height.
- Design around what you have. Pallets, tin, softwood, oak — use what's local, cheap, and suits your skills.
- Give yourself a little more space than you think you need.
- Make it beautiful. A little extra care pays off every time someone uses it.
- Ventilation is optional. If you want it, a black pipe on the outside of the building is all you need.
- Add cover material after each use. Sawdust, leaf mould, or soil — whatever you have.
- Pipe the urine to a soakaway at least 15 metres from any watercourse. Or put it to work feeding the garden.
- Run two bins, leave one to compost, empty and rotate.
Ready to Get Started?
The one thing you'll definitely need is a quality urine separator. We make two models, designed and refined over 25 years of builds — choose the one that suits your build:

The Compact Our slim, no-fuss model — perfect for simple builds and tight spaces. Everything you need, nothing you don't. £31.50 |

The Complete Our full-featured model with integrated spray guard — the one we'd choose for a permanent installation or shared use. £42.50 |
If you'd like a head start on the design, we also sell plans for building your own compost toilet with full dimensions and construction details — from a simple portable box to the full Bog Standard building. See the plans here →
And if you'd rather skip the build entirely, we make a whole range of handmade compost toilet buildings — from the no-nonsense Bog Standard to fully accessible blocks — built in Wales and ready to install. Get in touch → and we'll help you choose.
Got questions? Our compost toilet FAQ covers the most common ones — from smell and hygiene to legality and maintenance.
Have you built your own compost toilet? We'd love to see it — tag us or send a photo. Every build is different, and every one is worth sharing.


